
Last updated November 2, 2026
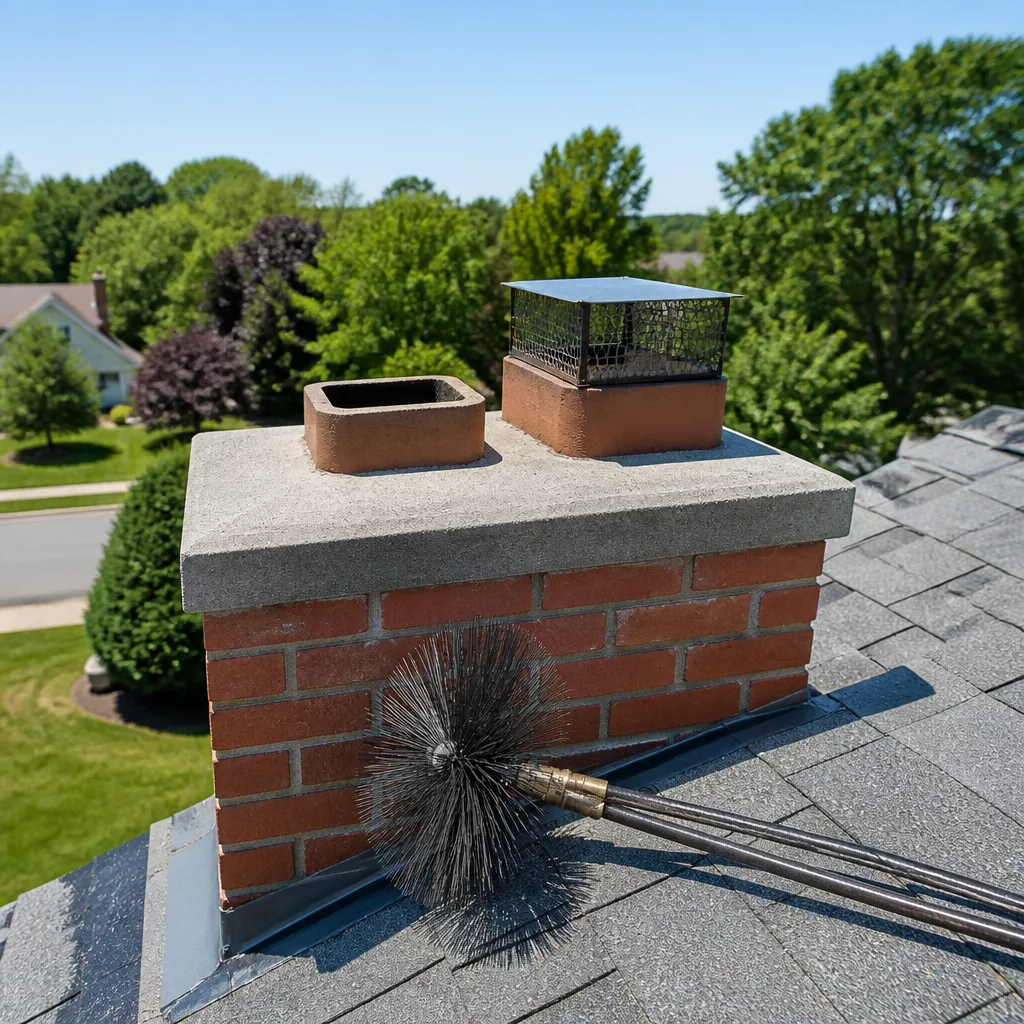 Sweep & inspection
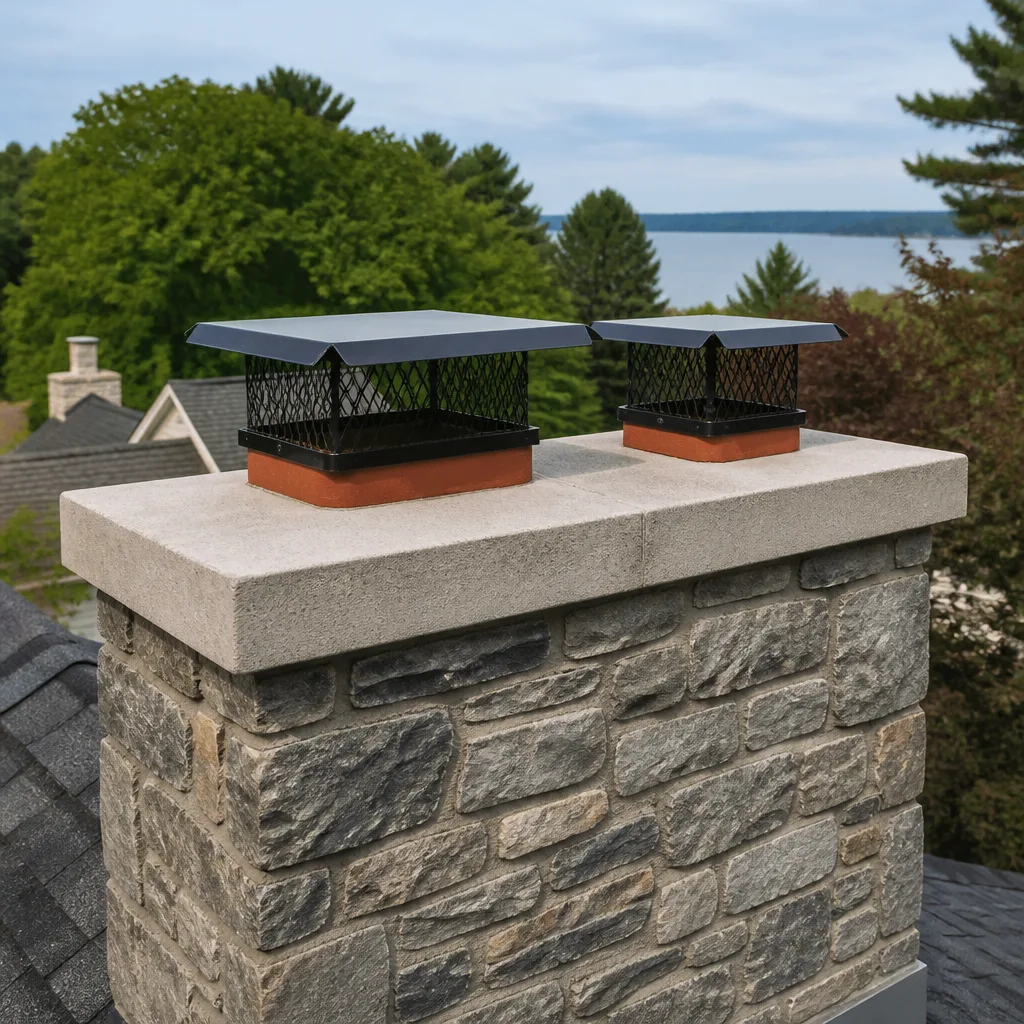 Caps & crowns
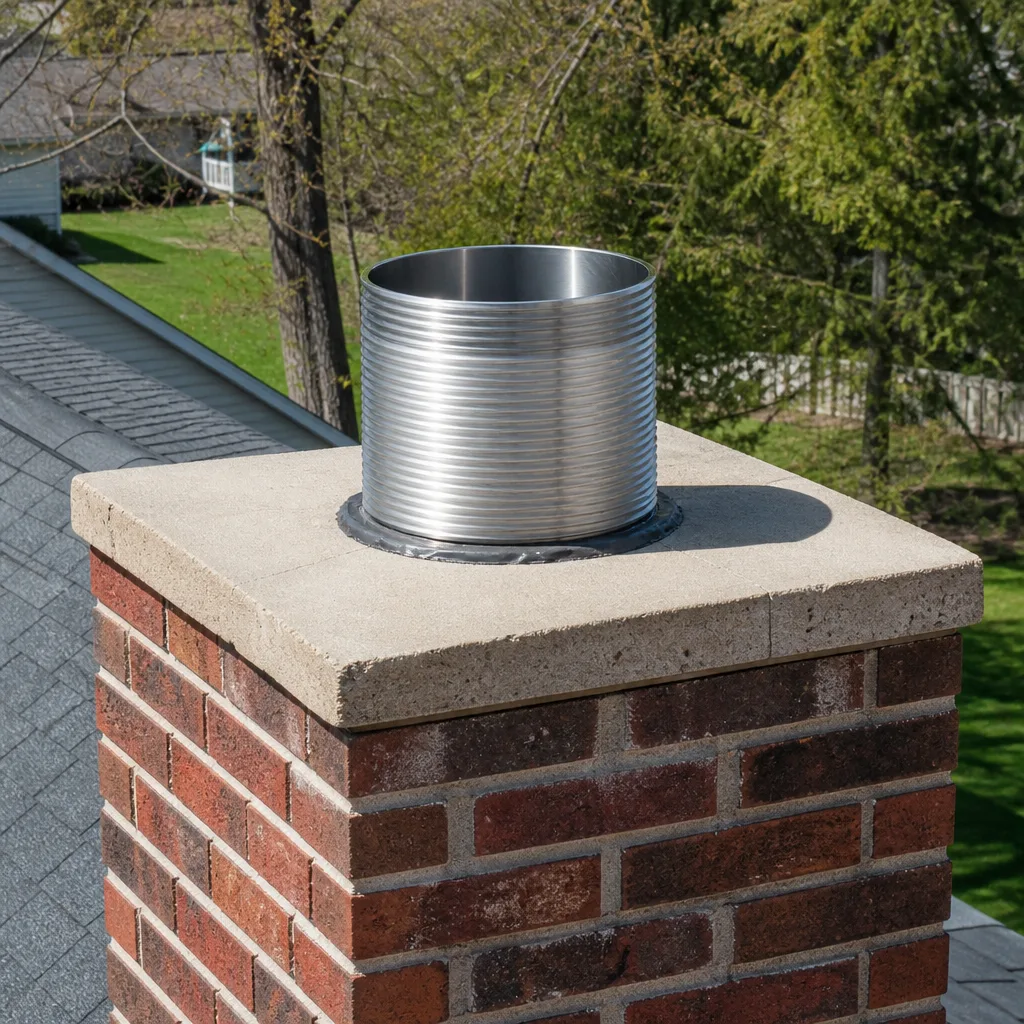 Flue relining
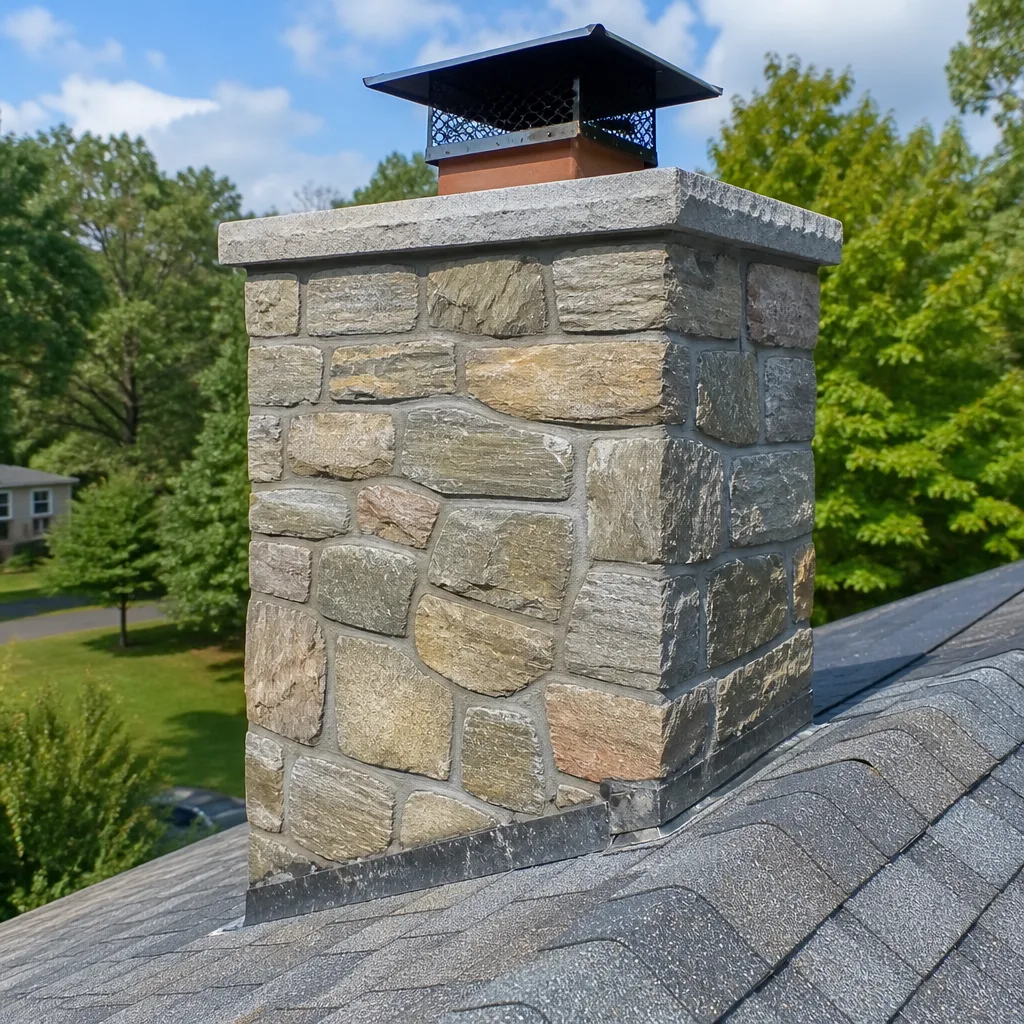 Masonry repair
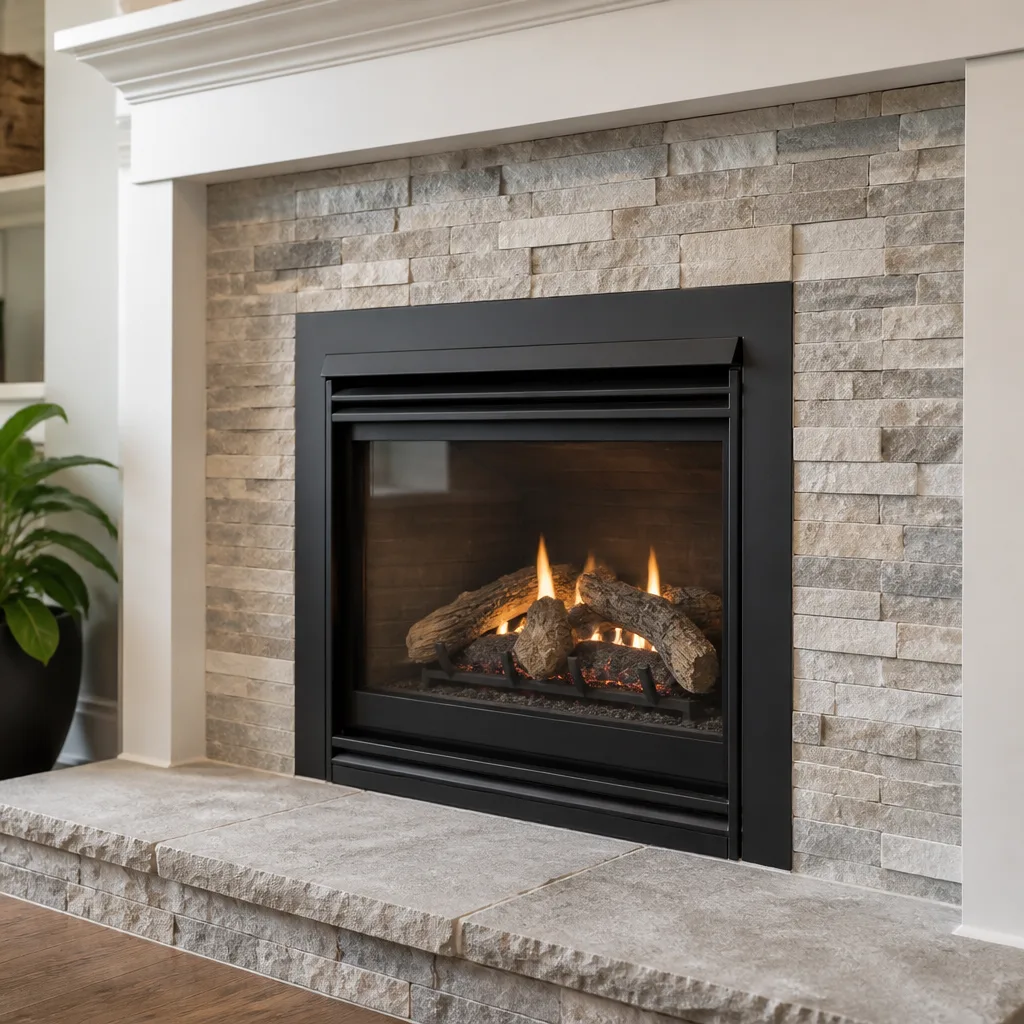 Gas fireplace service
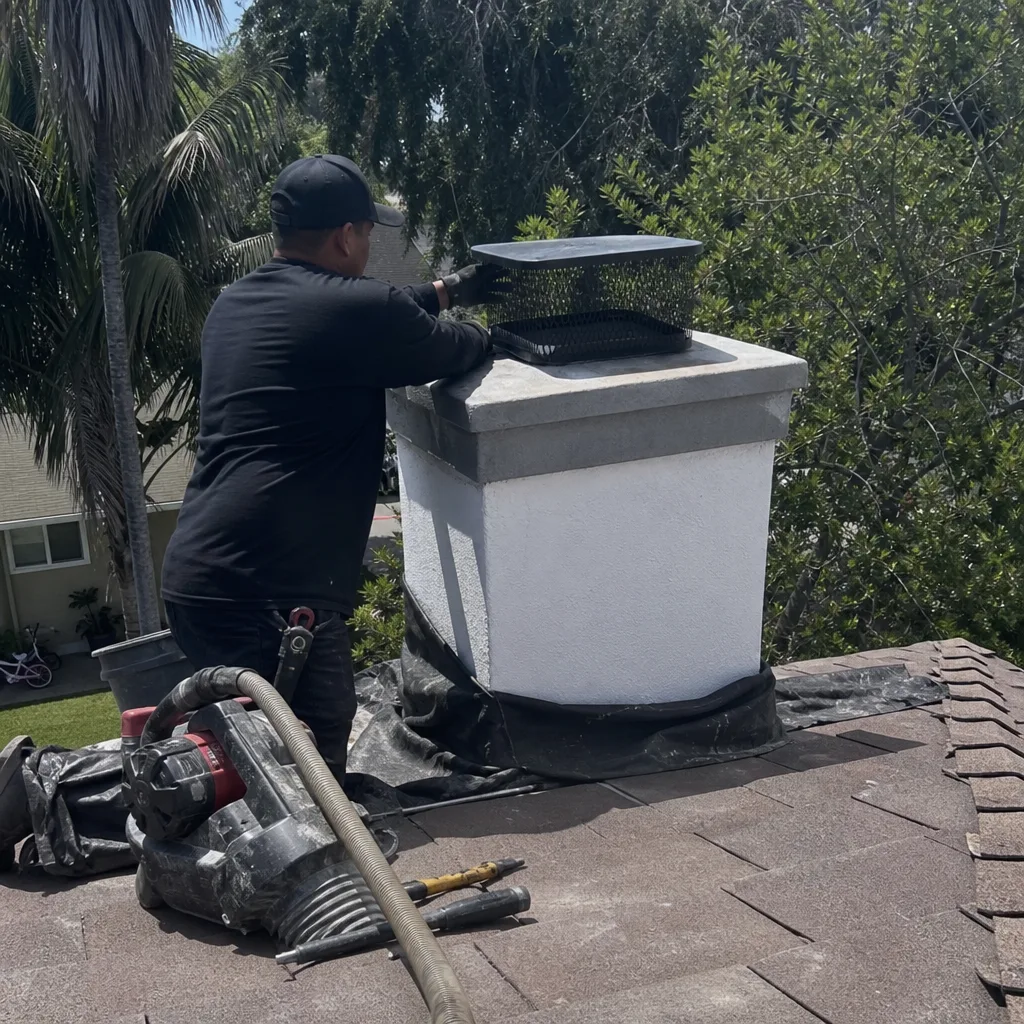
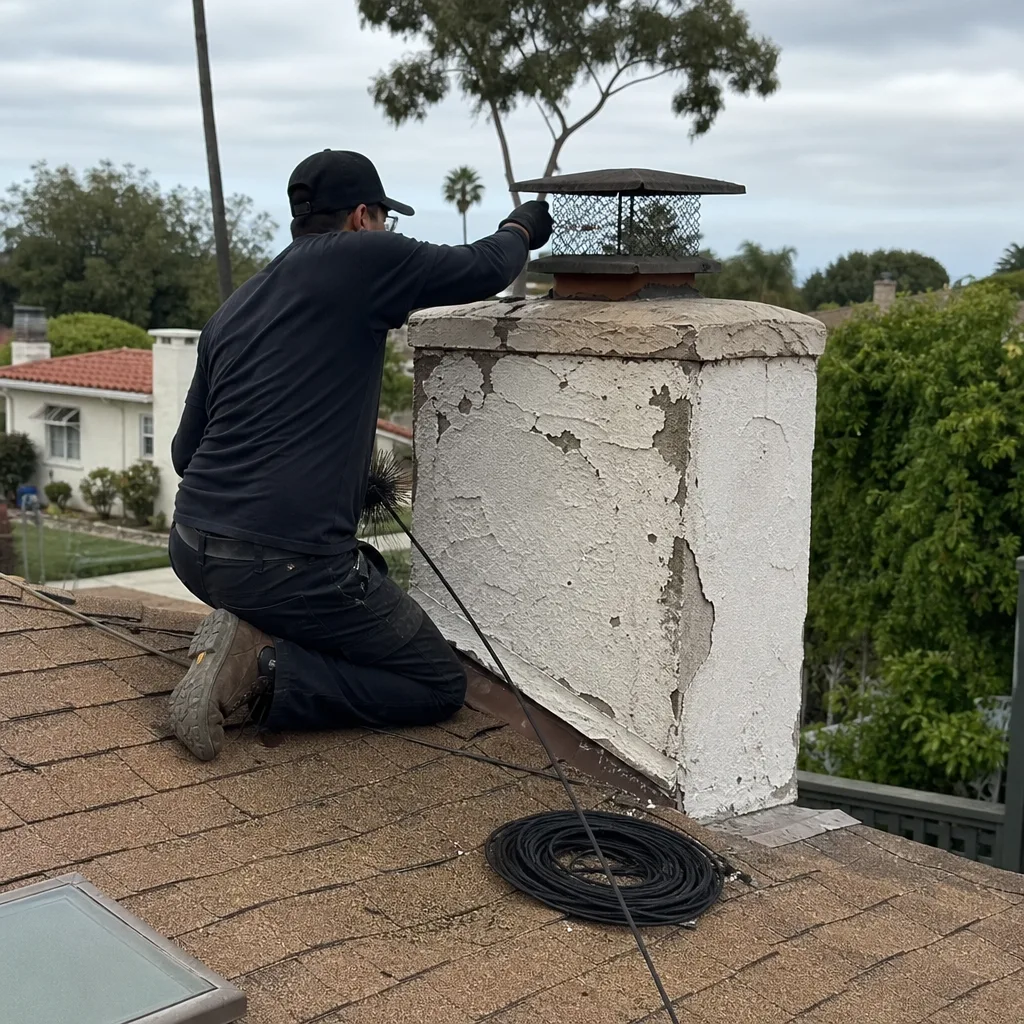
Level 1 sweep and inspection to the NFPA 211 annual standard - flue, crown, cap, and flashing checked and photographed
Chimney sweep logs do not sweep chimneys. They loosen some creosote - which then falls where a brush and vacuum still have to collect it.
Chimney Sweep Maintenance Checklist for Downtown San Diego Homeowners
Most chimney checklists tell you to start at the firebox and work your way up. That’s backwards, and in Downtown San Diego it’s also expensive. When you inspect from the bottom up, you’re looking at the symptom after the cause has already done its work. A cracked crown lets water in, the water degrades the flue tiles, the degraded tiles drop debris into the smoke chamber, and by the time you notice staining on the firebox brick, you’re pricing a full rebuild instead of a $40 crown seal. We’ve spent years inspecting chimneys in the Gaslamp, Cortez Hill, Little Italy, and the East Village, and we’ve learned that a maintenance checklist only works if the sequence follows the actual failure cascade. Here’s the checklist built around that sequence, starting at the top where every chimney problem in Downtown San Diego actually begins.
Styles & brands we work with
- Sweep & inspection
- Caps & crowns
- Flue relining
- Masonry repair
- Gas fireplace service
Quick Answer
A chimney maintenance checklist for Downtown San Diego should follow a top-down inspection sequence: crown, cap, flashing, exterior masonry, smoke chamber, damper, and firebox. Homeowners can safely handle visual inspections, cap replacement, and damper lubrication on their own, but flue tile repair, liner replacement, and smoke chamber parging require a licensed California contractor. Schedule our Chimney Sweep services after every cord of wood burned or annually if you use the fireplace more than twice a month between November and March.
Table of Contents
- Why the Sequence Matters: Top-Down Inspection Logic
- Step 1: Crown and Cap Inspection
- Step 2: Flashing and Exterior Masonry
- Step 3: Smoke Chamber and Damper
- Step 4: Firebox and Hearth
- Downtown San Diego-Specific Checklist Items
- What You Can Do Yourself vs. What Requires a Pro
- Documenting Your Inspection for Insurance
- Common Mistakes to Avoid
- When to Call a Professional
- Frequently Asked Questions
- The Bottom Line
Why the Sequence Matters: Top-Down Inspection Logic
A chimney is a system, not a collection of parts. Water enters at the top, migrates down through the masonry, and exits as damage wherever the path of least resistance allows. If you find efflorescence on the firebox brick and diagnose it as a firebox problem, you’ll patch the firebox and the water will find another exit. Maybe the smoke chamber this time, maybe the wall behind the chimney. The top-down sequence exists because the cause of chimney damage in Downtown San Diego is almost always at the crown or cap, and the evidence of that damage shows up lower. Checking the firebox before the crown is like checking your car’s oil after the engine light comes on – the damage is already done.
The correct inspection order follows gravity and water flow. Crown first because it’s the primary water barrier. Cap second because it protects the flue opening from both rain and animals. Flashing third because that’s where roof leaks actually start, not in the roof itself. Exterior masonry fourth because spalling brick and cracked stucco are the evidence that water has already penetrated. Smoke chamber fifth because it’s the narrowest part of the flue system and the first place creosote accumulates to dangerous levels. Damper sixth because it controls the draft and dries out with disuse. Firebox seventh because it’s where you’ll see the cumulative damage from everything above. In our experience working on chimneys throughout Downtown San Diego, homeowners who follow this order catch problems in the $100 to $400 range. Homeowners who reverse it end up with repair bids north of $3,000.
Step 1: Crown and Cap Inspection
The crown is the concrete or mortar slab that sits at the very top of the chimney, sealing the masonry from weather. In Downtown San Diego’s coastal climate, the crown takes a beating from salt air, marine layer moisture, and the occasional heavy storm. A hairline crack in the crown lets water wick into the brick, and every freeze-thaw cycle (yes, we get them, especially in the winter months when inland temps drop) widens that crack. Here’s what to check, in order:
- Crown surface: Look for visible cracks, spalling, or flaking. Run your finger along the crown (if you can safely reach it from a ladder, and only if you’re comfortable with heights). Hairline cracks under 1/8 inch can often be sealed with a crown sealer. Wider cracks or missing chunks are a repair item.
- Crown overhang: A proper crown extends 2 to 2.5 inches beyond the chimney exterior wall and has a slight drip edge on the underside. Many older chimneys in Downtown San Diego have flush crowns that shed water directly onto the brick face. This is a slow-motion failure waiting to happen.
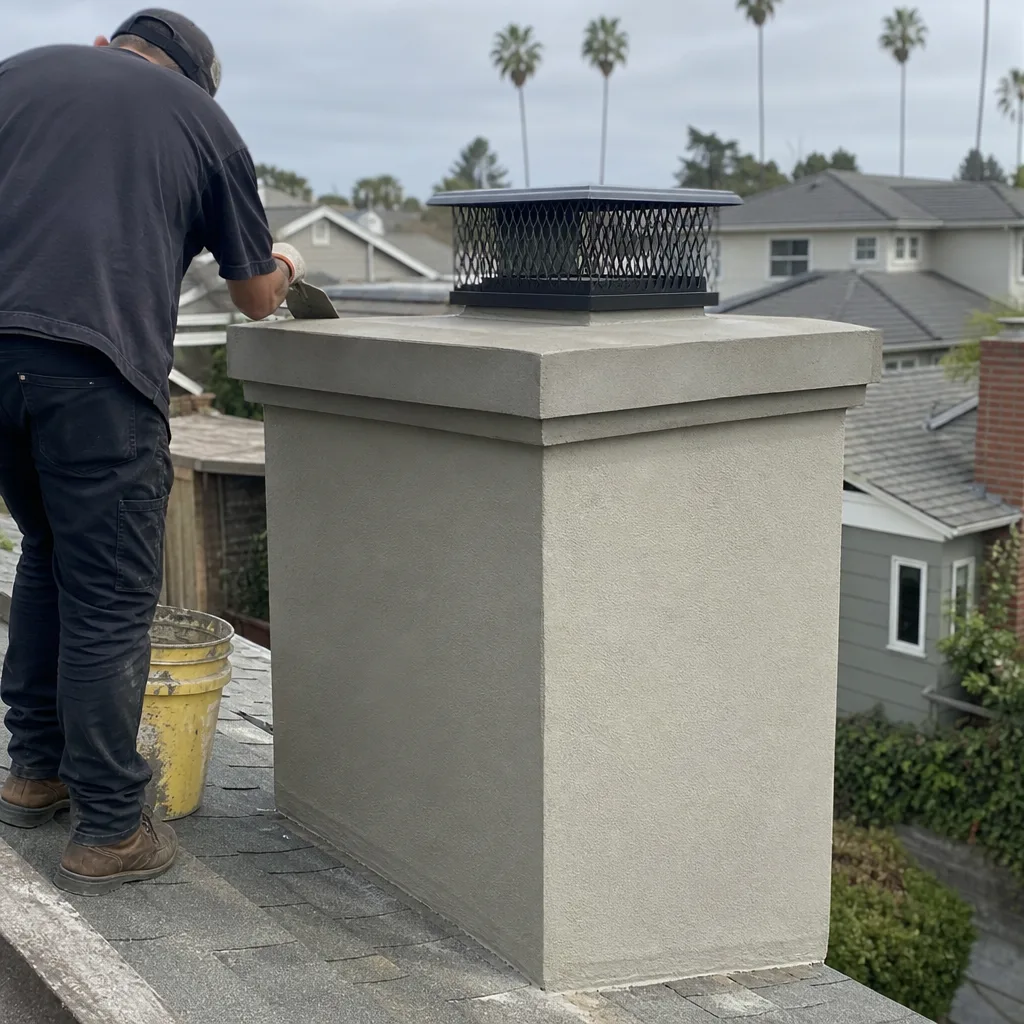
- Cap condition: The cap sits over the flue opening and keeps rain, leaves, and birds out. Rust spots on a metal cap, bent screens, or missing fasteners are all replacement triggers. A cap costs $60 to $200 for a standard size and is one of the few parts a homeowner can replace themselves.
- Bird guard integrity: The mesh screen around the cap should be intact. A 1-inch hole is all a starling or house sparrow needs. We’ve pulled fully built nests out of flues in Bankers Hill and Mission Hills chimneys that had been idle for just one spring season.
Crown and cap measurements that matter: A crown crack wider than 1/8 inch anywhere along its length means water is already getting through. A cap with more than 25 percent surface rust should be replaced the same year you notice it. Missing crown material (not just cracked, but gone) means the masonry below has been exposed to rain for at least one full season already.
Step 2: Flashing and Exterior Masonry
Flashing is the metal that seals the seam where the chimney meets the roof. In Downtown San Diego’s older housing stock – think the Craftsman bungalows in Golden Hill and the Spanish revivals in North Park – flashing is often original to the build and well past its service life. Galvanized steel flashing lasts 20 to 30 years. Copper flashing lasts longer but costs significantly more. Here’s the inspection sequence:
- Visual check from the ground: Look for gaps between the flashing and the chimney face, lifted sections, or rust staining running down the masonry. Use binoculars if you don’t want to climb a ladder.
- Caulk seams: The counter-flashing (the higher piece embedded in the chimney) and the step flashing (the lower piece woven into the roof) should overlap cleanly. Caulk that’s peeling back, cracked, or missing means the seam is open.
- Masonry surface: Check the brick or stucco face for spalling (brick faces popping off), vertical cracks, or bulging. In stucco chimneys, look for hairline cracks that follow the corners. On brick, look for white powdery deposits – that’s efflorescence, and we’ll get to what it means in a minute.
- Mortar joints: Take a close look at the joints between bricks. Soft or crumbling mortar (you can scrape it with a key) means repointing is in your future. If you can pull a dime out of the joint without ripping it, the mortar needs attention.
Flashing and masonry thresholds: Any gap in flashing wider than 1/16 inch can admit water during a sideways coastal rain. Any brick with more than 30 percent of its face spalled off should be replaced, not patched. We suggest documenting all of this with photos – take a picture of every crack, every gap, every rust stain. You’ll use those photos later.
Step 3: Smoke Chamber and Damper
The smoke chamber is the funnel-shaped section between the firebox and the flue. It’s the most overlooked part of any chimney, mostly because you can’t see it from the ground or from the fireplace opening without a mirror and a flashlight. But the smoke chamber is also where creosote builds up fastest, and where smoke turbulence creates the conditions for chimney fires. NFPA 211, the national standard for chimney inspection and cleaning, sets clear thresholds for when a chimney needs sweeping. Here’s the homeowner version:
Creosote depth thresholds per NFPA 211:
- Any visible glaze (shiny, tar-like creosote): This is stage three creosote. It’s the most concentrated fuel load in your chimney system and can’t be removed with a standard brush sweep. You need chemical treatment or mechanical removal, which is a pro-level job.
- 1/8 inch of sticky or crusty creosote: The line where a sweep is due. This is the most common threshold we see in Downtown San Diego fireplaces that burn commercial firewood or duraflame logs.
- 1/4 inch or more: Do not use the fireplace until it’s cleaned. This is an active fire hazard, not a maintenance recommendation.
The damper is the metal plate that opens and closes the flue opening. It should seal tightly when closed (to keep conditioned air in and bugs out) and open fully without sticking. To test it, get down and look up into the fireplace with a flashlight. The damper should close with no visible light gap around the edges. A gap of more than 1/8 inch when closed means you’re losing heated or cooled air up the flue 24 hours a day, 365 days a year. In Downtown San Diego’s gas-heated and gas-cooled apartments and condos, that’s real money out the top of the building. Dampers that stick or creak can often be lubed with high-temp graphite spray (available at any hardware store). If the damper frame itself is warped or broken, that’s a replacement item.
Flue tile offset limits: If you’re looking up the flue and notice the tiles are shifted or offset from each other, measure what you can. NFPA 211 allows a maximum offset of 3 inches per tile on a 1/2-inch mortar joint. Anything beyond that creates a ledge where creosote accumulates and smoke catches. An offset that produces a visible lip between tiles is a structural issue that requires a professional inspection. This is also the point where a camera inspection earns its money – we use a camera to see exactly what’s happening in the flue, and we show you the footage. You don’t have to take anyone’s word for it.
Step 4: Firebox and Hearth
The firebox is where you build the fire, and it’s where water damage from above eventually shows up. The firebox is built from firebrick or refractory panels, and both are designed to withstand direct flame contact. What they’re not designed to withstand is water. When water migrates down through a cracked crown and degraded mortar, it saturates the firebrick. The fire then heats that trapped moisture into steam, which expands and cracks the brick from the inside. The visible result is spalling, crumbling, and white or yellow staining on the firebox walls. In Downtown San Diego chimneys that face the coast, this is one of the most common issues we diagnose because the marine layer keeps the masonry damp for months at a time.
Firebox inspection sequence:
- Visual check of all four walls and the floor: Look for cracks wider than 1/16 inch, missing mortar, or brick faces that have flaked off.
- Check the rear wall specifically: The back wall takes the most direct heat. It’s also where most water-related damage first becomes visible.
- Inspect the hearth extension: The non-combustible area in front of the fireplace should extend at least 16 inches from the opening, per code. If a previous owner carpeted or tiled over a hearth that’s too small, that’s a code violation and an insurance complication.
- Look for smoke staining above the opening: Dark streaks on the face of the fireplace or the wall above it indicate that smoke isn’t drafting properly, which can mean damper issues, flue blockage, or negative pressure from the home’s ventilation system.
What you should not do: Do not attempt to patch firebox brick with regular mortar from a home improvement store. Standard mortar doesn’t handle the thermal cycling. It will crack and fall out within a year. Refractory mortar is the right material, and while a highly confident DIYer can do small patches, the temperature resistance matters more than the convenience. In our experience, firebox repair is better done by someone who’s going to warranty the work.
Downtown San Diego-Specific Checklist Items
Every climate has its own chimney failure pattern. Downtown San Diego’s pattern is shaped by salt air, the marine layer, and the occasional hard rain. Generic checklists don’t include the items that actually matter here. These do.
Efflorescence check on the exterior chase: Efflorescence is the white, powdery deposit that forms on masonry when water moves through it and evaporates on the surface. It’s not mold, and it’s not structural damage on its own, but it is a reliable early-warning sign that water is moving through the chimney in ways it shouldn’t. In Downtown San Diego, where many homes are stucco-wrapped, efflorescence often shows up at the base of the chase where it meets the roof line. If you see it, the next step is to find the water entry point. It’s almost always at the crown or flashing.
Weep hole inspection on stucco surrounds: Properly built stucco chimneys have small weep holes at the base of each masonry wall that allow trapped moisture to escape. In older Downtown San Diego construction, these holes were either never installed or have been painted over by subsequent owners. A plugged weep hole traps water in the masonry, which is exactly what you don’t want in a climate where the air is perpetually moist. Check for small openings (usually 1/4 inch or smaller) near the base of the chimney on the exterior. If they’re painted shut, that’s a simple fix, but it’s one that matters more than it looks like.
Bird guard integrity with a coastal angle: Downtown San Diego has a healthy population of pigeons, starlings, and house sparrows, all of which view an uncapped flue as prime real estate. A missing or damaged bird guard is an open invitation. In the spring (nesting season runs roughly February through June), pay extra attention. A bird in the chimney isn’t just a nuisance, it’s a fire risk and a sanitary issue. We’ve pulled nests out of chimneys in the Marina District that filled the entire flue diameter.
Chase cover check for prefab systems: If your Downtown San Diego condo or apartment has a prefabricated chimney (common in mid-rise buildings built since the 1980s), the water barrier at the top is a metal chase cover, not a concrete crown. Chase covers rust through from the inside out, especially in salt air. Look for rust trails running down the chase from the top. If you see them, the cover is already leaking.
What You Can Do Yourself vs. What Requires a Pro
California law draws a clear line between maintenance tasks a homeowner can perform on their own property and work that requires a licensed contractor. Here’s the breakdown as it applies to chimneys, and we’re going to be direct about this because getting it wrong is expensive.
Homeowner-serviceable items:
- Visual inspections: You can and should look at every part of your chimney you can safely see. Nothing in this checklist requires a license to observe.
- Cap replacement: Swapping a rusted metal cap for a new one is a part swap, not a structural repair. You can buy a cap off the shelf and install it with basic tools. Just make sure it’s the right size for your flue and that the mesh is stainless steel, not galvanized (galvanized rusts faster in salt air).
- Damper lubrication: Graphite spray is a hardware store item. If your damper sticks, a light coat of graphite on the hinges and the track is a five-minute fix.
- Crown sealing (small cracks): For hairline cracks under 1/8 inch, a crown sealer you paint on is a legitimate DIY fix. The surface has to be clean and dry, so pick a stretch of weather with no marine layer in the morning and no rain forecast.
- Efflorescence cleaning: A stiff brush and mild detergent removes the visible deposit. Then you still have to find the water source, which may or may not be DIY territory.
Items that require a licensed contractor in California:
- Flue tile repair or replacement: This is structural work inside the flue system. It requires specialized tools and skills, and in a multi-unit building, it involves shared structure.
- Liner installation or restoration: Whether it’s a stainless steel liner like a DuraFlex system or a HeatShield restoration coating, this is contractor-grade work. The materials themselves are professional products, and the installation requires training and specialized equipment. We stock and install DuraFlex flexible liner systems and HeatShield restoration coatings precisely because this is work that shouldn’t be improvised with hardware store components.
- Smoke chamber parging: Resurfacing the smoke chamber with refractory mortar is dusty, demanding work that requires knowing how to shape the walls for proper draft. It also requires a permit in many jurisdictions.
- Masonry rebuild or repointing beyond surface touch-ups: If more than a few bricks need replacement, or the mortar bed is deeply decayed, this crosses into structural repair. California contractor law is clear about this.
- Any repair in a multi-unit building where the flue is shared or the work involves the building envelope: In Downtown San Diego’s high-rise and mid-rise condo buildings, you almost certainly need a licensed contractor, and usually HOA approval as well.
The practical test: If the fix involves sealing, patching, or swapping a visible part, you can probably do it. If it involves opening up the flue, rebuilding masonry, or working inside the system where you can’t see what you’re doing, you need someone with a license and a camera. We offer Chimney Repair in Downtown San Diego for exactly that reason – a proper diagnosis with footage you can verify, and then a repair that uses the right materials.
Documenting Your Inspection for Insurance
A maintenance checklist is only as good as your record of having done it. If you ever file a homeowner’s insurance claim related to chimney damage – water intrusion, a chimney fire, structural failure – the first thing the adjuster will ask is whether the chimney was properly maintained. Your unsupported yes is worth nothing. A dated photo record of every inspection you’ve done is worth everything.
Here’s the documentation protocol we recommend:
- Take photos of everything, not just what’s wrong: Every crown crack, every flashing gap, every efflorescence deposit, and every clean bill of health. If it looks fine, photograph it anyway. That’s the evidence that you checked.
- Use a consistent naming format: Date first, then location, then condition. Something like “2026-03-15-crown-hairline-crack-east-side.jpg”. This makes it searchable when you need it.
- Store them somewhere that isn’t just your phone: A cloud folder, a dedicated email folder, anything that survives a dead device. Insurance claims often happen years after the relevant inspection.
- Keep receipts for any repairs or replacements: If you bought a new cap in 2024 and the chimney leaks in 2026, the receipt documents that the cap was maintained. If you used a pro, keep the invoice with the scope of work described.
- Photograph the firebox before and after each burning season: This creates a baseline that shows what’s normal for your chimney. A new crack in the firebox is much easier to prove if you have a photo of the same wall from a year earlier with no crack.
We’ve had Downtown San Diego homeowners call us after insurance inspections and after claim denials. The ones with a photo record are negotiating from a completely different position than the ones who never documented anything. It’s the cheapest insurance you’ll ever buy, and it takes 15 minutes.
How Often to Schedule a Professional Sweep
The maintenance checklist you do yourself is one thing. The professional sweep is another. Here’s the scheduling guide we use for Downtown San Diego’s actual burning habits, not the generic “once a year” you’ll see everywhere else.
Burn one cord of wood or fewer per season, or use the fireplace occasionally (holidays, special occasions): Sweep every other year. Creosote accumulation at that level rarely reaches the 1/8-inch threshold in one season, especially with properly seasoned wood.
Burn two or more cords per season, or use the fireplace as a primary or regular heat source: Sweep annually. You’re at the threshold where glaze creosote can form in a single season, and glaze doesn’t brush out with a standard sweep. It requires chemical treatment or mechanical removal.
Use the fireplace heavily (more than two cords, or daily burns between November and March): Sweep before the season starts and again in spring. Heavy burners in older Downtown San Diego houses with unlined chimneys are the ones we pull the most creosote out of.
New home or first fireplace season in a new place: Sweep before you light the first fire. You don’t know what the previous owner left in that flue. We’ve found everything from collapsed nests to construction debris to creosote so thick the flue opening was reduced by half. This is where a Hometown Chimney Sweep home inspection earns its value – we camera the flue and show you what’s actually in there before anything gets burned.
Gas fireplace: Even gas fireplaces should be inspected periodically, though less for creosote than for venting integrity and carbon monoxide issues. Every three years is a reasonable interval for a gas-vented system.
What you should never do is wait until the fireplace stops drafting properly. When smoke starts spilling into the room instead of going up the flue, whatever was building up has already crossed into “problem” territory. The Chimney Sweep in Downtown San Diego service exists because the cheapest time to schedule is before the symptoms show up.
Common Mistakes to Avoid
- Inspecting from the bottom up: You’ll find the effects before you find the cause. The crown and cap are where Downtown San Diego chimney problems start, and skipping them until the firebox shows damage means repair bills that are four or five times higher than they needed to be.
- Using standard mortar for firebox patches: It’s the fastest way to make a small problem bigger. Standard mortar and refractory mortar are different products with different thermal properties. Using the wrong one means the patch cracks within a season and you’re back where you started, plus the damage from whatever water got in during the gap.
- Sealing over a crown crack without diagnosing it: If the crown has cracked because the masonry below is shifting or the flue tiles are expanding against it, sealing the crack is cosmetic. The crack will return because the cause wasn’t addressed. We see a lot of sealed crowns in older Downtown San Diego properties that are cracked again within a year.
- Painting over weep holes in stucco chimneys: This is one of the most common causes of trapped moisture in coastal stucco chimneys. If you’re having the stucco repainted, make sure the painter knows not to fill the weep holes. Most painters will fill them by default because they look like imperfections.
- Burning unseasoned wood and then blaming the flue: Green wood produces dramatically more creosote than properly seasoned wood, and it produces a different, tarrier creosote that’s harder to remove. A freshly swept chimney can be reloaded with dangerous creosote in one season of burning wet wood. Stack your wood, let it season for 6 to 12 months, and the chimney stays cleaner.
- Assuming a gas fireplace needs no maintenance: Gas fireplaces produce water vapor and carbon monoxide. Venting needs to work, the logs need to be positioned correctly, and the system needs to be checked for leaks and obstructions. A gas fireplace that hasn’t been inspected in years is a carbon monoxide risk you can’t see or smell.
- Doing one piece of a repair and calling it done: The chimney system is connected. Fixing the crown but leaving a rusty cap, or replacing the cap but ignoring deteriorating flashing, leaves the system with the same leak it had before, just through a different opening. Every component you inspect should either pass or get scheduled for repair in the same month.
When to Call a Professional
Some findings on this checklist mean it’s time to pick up the phone. A gap in flashing you can see from the ground, flue tiles that look offset or shifted, any visible glaze creosote, deep spalling on more than one or two bricks, a damper that won’t close at all, water staining on the ceiling around the chimney chase, or a smoke smell in the room after the fire is out. In all of these cases, the issue is either too complex for hardware store fixes or it involves working at height or inside the flue where you can’t see what you’re doing. For guidance on identifying these problems yourself, see our Chimney Sweep Troubleshooting: Common Problems and How to Fix Them. Hometown Chimney Sweep offers free estimates in Downtown San Diego – call (866) 670-3503 and we’ll come out, camera the flue, and show you exactly what’s going on.
One more category that sends people to us every year: the home inspection report. If you’re buying or selling in Downtown San Diego and the inspection flags chimney issues, don’t sign anything until the flue has been camera inspected. Home inspectors do a visual check from the fireplace and from the roof, but they don’t see inside the flue. We’ve caught liner failures and smoke chamber collapses that no visual inspection could have found, and we’ve also cleared chimneys that the inspector flagged as problematic but that turned out to be fine.
Frequently Asked Questions
A standard chimney sweep in Downtown San Diego typically runs between $150 and $350 depending on the amount of creosote, the flue height, and whether there are complications like a roof access issue or a multi-story chase. For help selecting a provider, read Choosing the Right Chimney Cleaning Brand: A Buyer’s Guide for Downtown San Diego. A sweep with a camera inspection usually adds $75 to $150 to the base price. Call (866) 670-3503 for a specific quote on your chimney – estimates are free, and we’ll tell you the price before any work begins.
You need a new liner if the existing liner is cracked, separated, pitted, or missing sections, and the evidence should be visible on camera footage that’s shown to you. A stainless steel liner like a DuraFlex system or a HeatShield restoration coating is the solution, but any legitimate contractor will show you the footage that proves the need before quoting the work. If someone quotes a liner without camera evidence, get a second opinion. That’s not our approach – we show you the footage and explain what it means before we recommend anything.
Annually if you burn more than a cord of wood per season, every other year if you use the fireplace occasionally, and before you light the first fire in a new home. The threshold that matters is 1/8 inch of creosote buildup, which is the point where NFPA 211 says a sweep is due. Call us at (866) 670-3503 if you’re not sure where you fall.
Creosote accumulates to the point where a chimney fire becomes a real possibility, water intrusion degrades the masonry and the flue liner, animals build nests and block the flue, and the damper seizes from disuse. Each of these compounds the others. The good news is that most of it is reversible if caught before the fire or the structural failure happens – Chimney Repair in Downtown San Diego covers everything from liner restoration to full masonry rebuilds. The bad news is that the repair cost rises the longer it’s deferred.
Yes, efflorescence means water is moving through the masonry and carrying mineral deposits to the surface. It’s not structural damage by itself, but it’s reliable evidence of a water entry issue somewhere above the deposit, almost always at the crown or flashing. Clean the efflorescence off, then find and fix the water source. If you don’t find the source, the deposit will return.
You can, but you’ll miss what matters. A hardware store brush sweep from the rooftop cleans the flue walls from the top down, but it doesn’t reach the smoke chamber, doesn’t inspect the firebox from the inside, and doesn’t give you any information about liner condition, hidden creosote glaze, or structural issues. The brush removes surface creosote, not the glaze that requires chemical treatment. For the cost of a professional sweep, you also get the inspection, the documentation, and the camera footage. Explore more guides & resources on keeping your chimney safe between visits. To us that’s the more valuable half of the service. If you want to maintain between sweeps, fine – but start with a pro who can establish a baseline.
The Bottom Line
A chimney maintenance checklist only works if you follow the failure sequence from the top down. Start at the crown, work through the cap, flashing, and masonry, then drop into the smoke chamber, damper, and firebox. Document everything with photos. Handle the small DIY items – cap replacement, damper lube, crown sealer – and call a licensed contractor for anything inside the flue or involving structural masonry. In Downtown San Diego’s salt-air climate, water entry at the top is the root cause of most chimney damage, so if you catch it at the crown you’ve caught it early and cheaply. Hometown Chimney Sweep has been serving Downtown San Diego since 2015, and we’ll camera your flue and show you exactly what you’re dealing with before any work gets quoted. Call (866) 670-3503 for a free estimate, or check out our dryer vent cleaning service if you want to handle the other half of your home’s ventilation safety in the same visit.
Written by the team at Hometown Chimney Sweep, serving Downtown San Diego since 2015.
See the difference
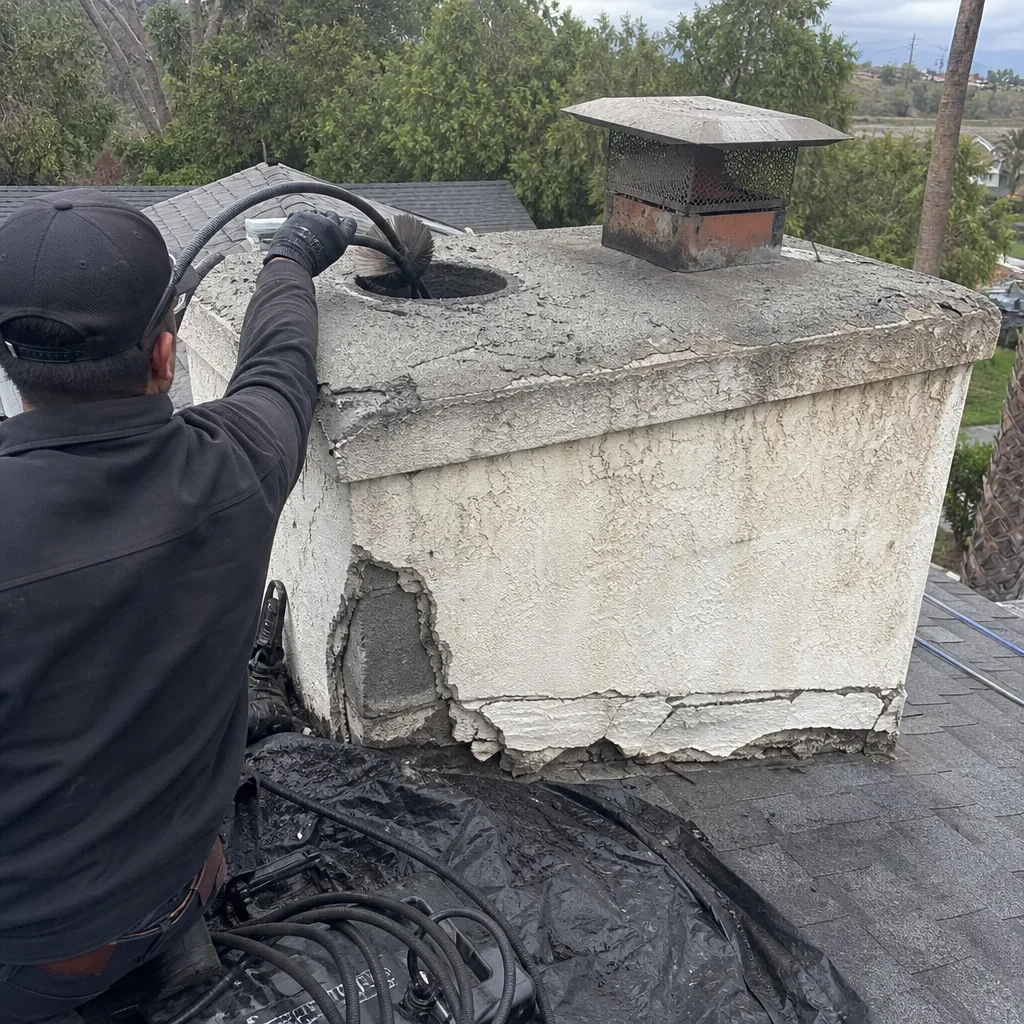 Before
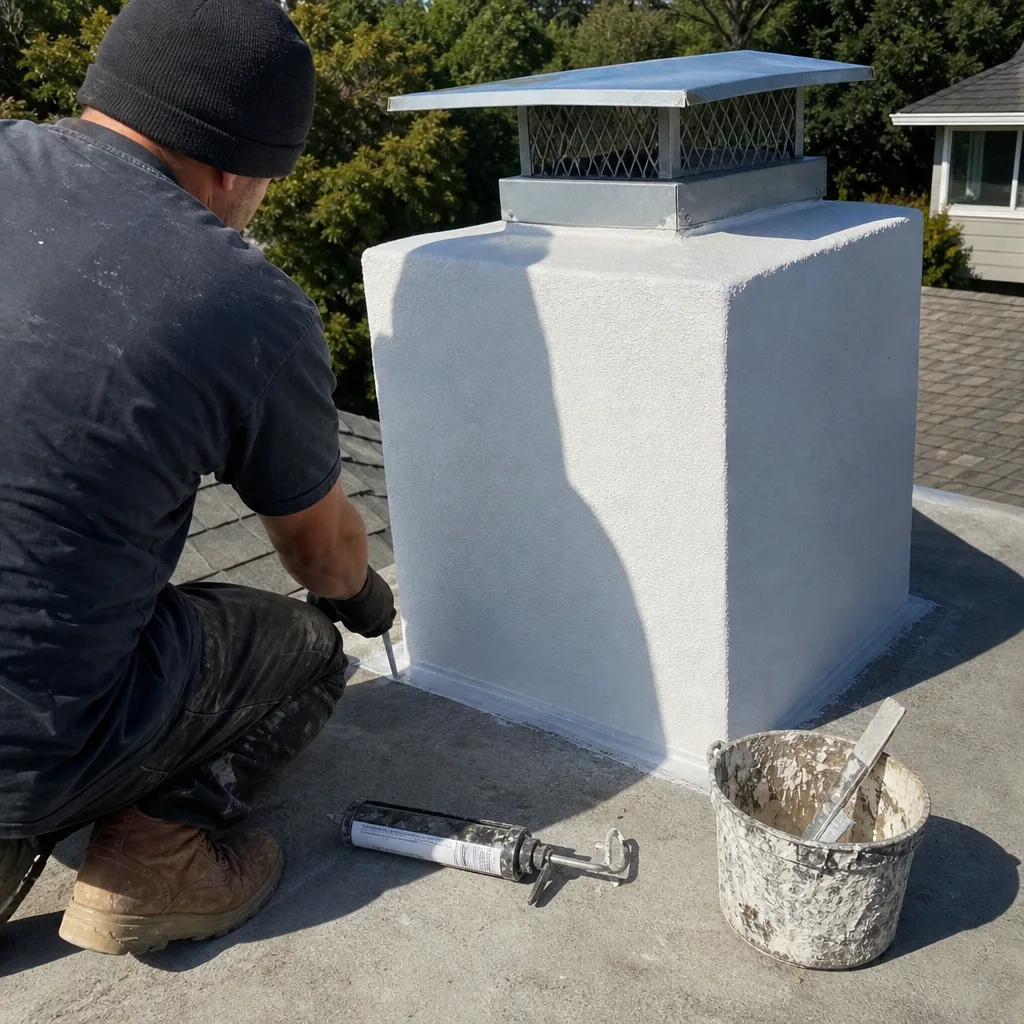 After
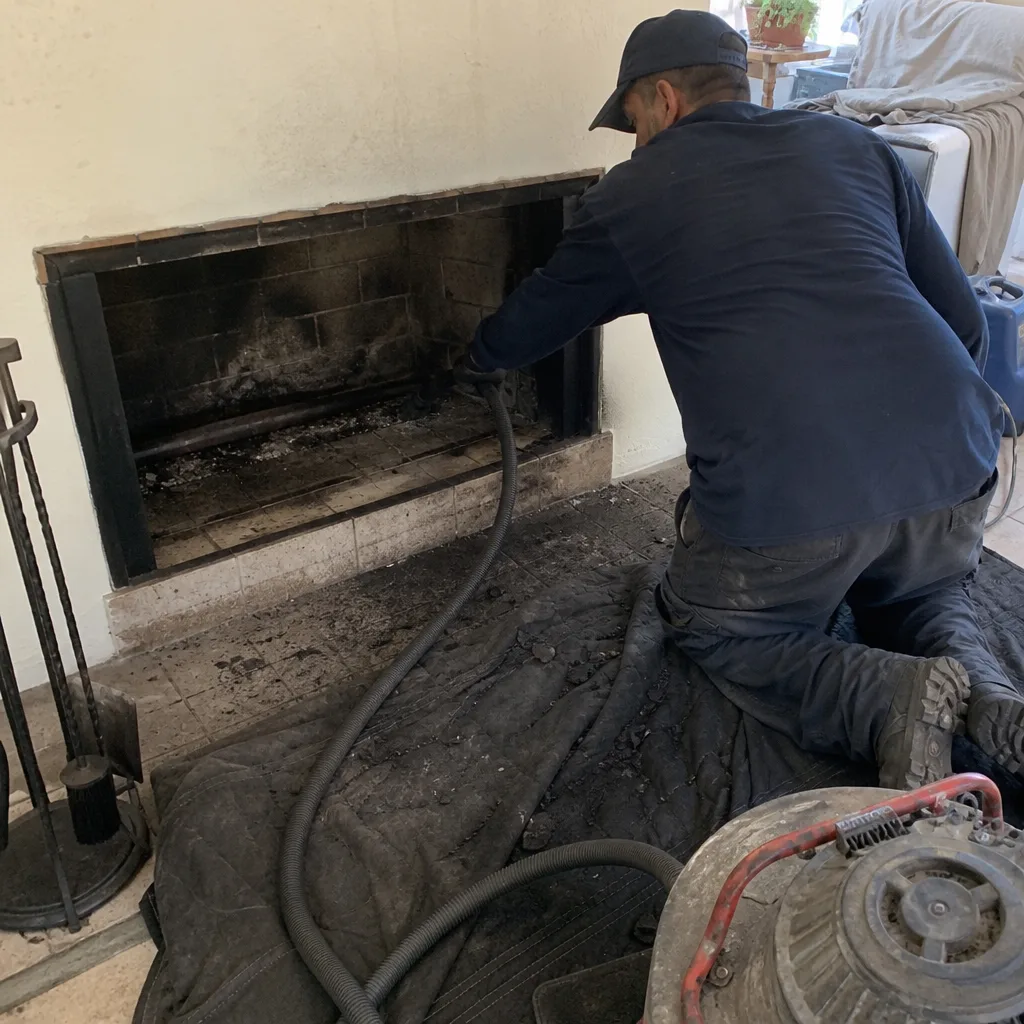 Before
 After
 Before
 After